ようこそShenzhen Riqiya Electromechanical Co., Ltd.公式ウェブサイト!


|
|
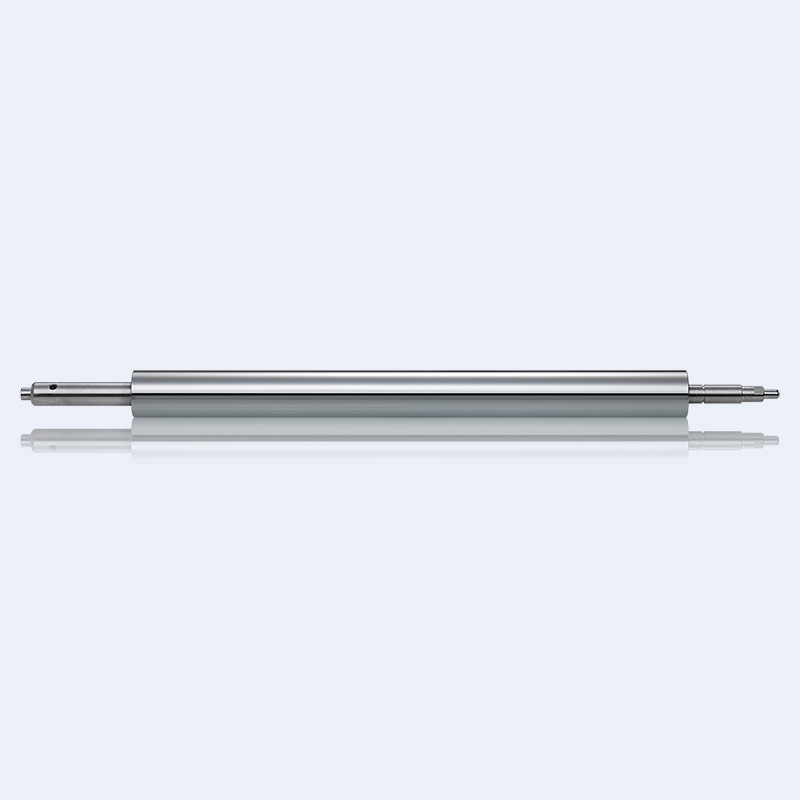
Transcribing unit (one of the core components) for copiers and laser printers. Transfer the "toner image" on the surface of the photosensitive drum to plain paper with high-voltage static electricity. This process is called "transfer". When the positively charged toner moves to the vicinity of the printing paper along with the photosensitive drum, the electrode placed behind the paper is positively charged. Because the voltage is as high as 500~1000V, the electrostatic attraction causes the paper to stick to the light guide plate. The negatively charged toner is adsorbed on the surface of the paper. Because this transfer method is related to the insulation of the paper, when the paper is damp due to the weather, the toner will not be completely and tightly adsorbed on the paper due to the leakage of the paper surface, resulting in poor print quality. There are two transfer methods, one is "corona discharge transfer" (electrode wire), and the other is "discharge rubber roller" transfer. The working principle of the two is the same. Different models have different transfer methods. The early production of laser printers mostly used the corona discharge transfer method. When the photosensitive drum carrying the toner image rotates to a position that is tangential to the transfer electrode or transfer rubber roller, a piece of printing paper is also fed between the two. At this time, the high voltage applied to the transfer electrode starts Discharge, while pushing the printing paper to the photosensitive drum, the toner image on the photosensitive drum will be attracted to the printing paper due to the transfer of the high-voltage electric field on the bottom of the printing paper to complete the secondary transfer of the toner image. The discharge polarity of the transfer electrode wire or transfer rubber roller is the same and negative, but this negative voltage is higher than the negative voltage in the exposure area of the photosensitive drum, so that while pushing the printing paper to the photosensitive drum, it also reduces The toner is attracted to the printing paper as much as possible.
Drive shaft maintenance and inspection
1. The drive shaft and constant velocity universal joint should be fully inspected as follows .
2. Jack up the front of the car and firmly support it on the axle bracket.
3. Slowly turn the wheel to check the condition of the outer universal joint rubber guard. Check the rubber for signs of cracking, tearing or deterioration, which will cause grease loss and allow water and grit to enter the universal joint. Also check the firmness and condition of the two clamps. These checks are also done for the inner universal joint.
4. Continue to rotate the wheels and check whether the drive shaft is deformed or damaged. Hold the drive shaft and try to turn the wheel. Grasp the flange of the differential and try again. Any felt movement can indicate wear in the universal joint, wear of the drive shaft spline, or loosening of the universal joint fixing screws or wheel nuts.
5. When driving on the road, from accelerating to rolling, and then from rolling to accelerating, check if there is any sense of looseness in the driving route, or when accelerating Does the whole car feel vibrating? Problems of this nature often indicate wear in the constant velocity joint. /uploads/qd/1-1.jpg
前のページ:Shenzhen drive shaft wholesale
次のページ:Shenzhen drive shaft